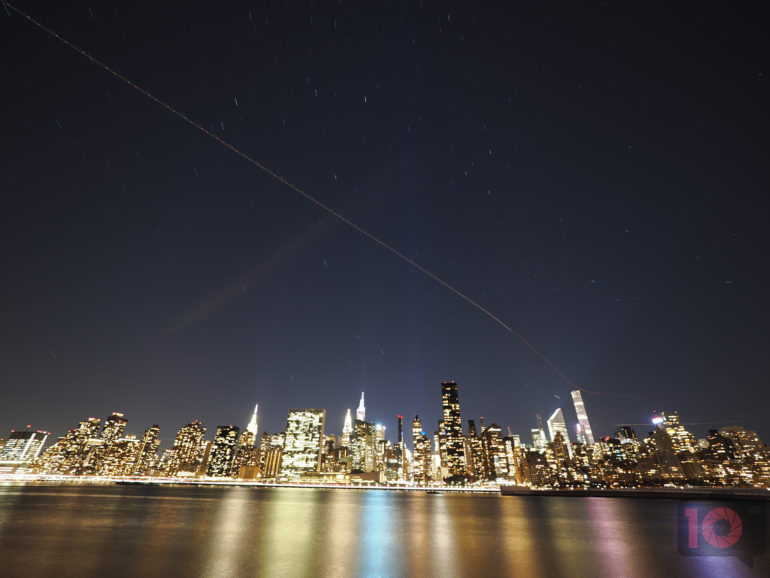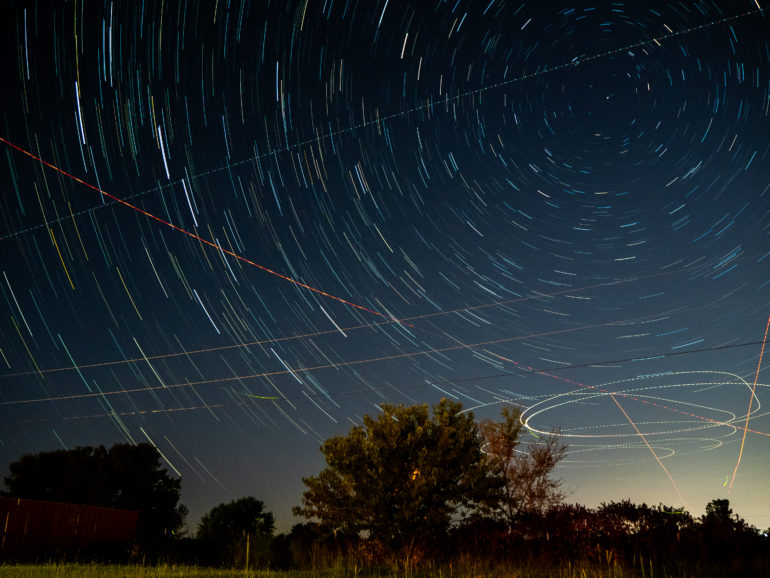
One of the most liberating things about modern cameras is just how far the technology in some of them has come. Lots of photographers love to shoot astrophotography, but end up spending a while in post-production layering and compositing photos. But what if you didn’t need to? That’s the focus of today’s short Useful Photography Tip. Here’s how to do astrophotography without needing Photoshop. In fact, you could even do this in-camera.
What kind of photographer doesn’t want to sit in post-production for that long? There are lots of them. Isn’t life and photography about being able to capture and create moments? We spend more than enough time in front of computers and staring at phones these days. If this sounds good to you and you’re wondering how to do astrophotography without the excess, here’s what you need to know.
OM SYSTEM cameras like the OM-1 have a special feature called Live Composite. It lets you point the camera at something and takes multiple photos over time. It then looks at various components and layers the photos together intelligently. So if you’re in a city and pointing the camera up at the sky, it will overcome the noise pollution and blend the stars into the image. You’ll also get other cool things like airplanes passing overhead and stuff. Of course, you can also do it out in the countryside or desert while still getting those epic star trails you’re looking for.
Here are some other tips on how to shoot astrophotography without needing Photoshop using OM SYSTEM cameras:
- Use the Starry Sky AF feature. This helps make sure the stars are always in focus. If you’d like you can get the focus and then lock it by switching the camera or lens to manual focus. NOTE: Technically, once you have used the Starry AF, it stays on that same focus point until you re-engage Starry AF another time.
- You can set up various parameters in the Bulb/Composite settings within your camera’s menu system.
- Lock your white balance. OM SYSTEM cameras do a fantastic job as it is, but it doesn’t hurt to take extra steps.
- Set your exposure to no more than one stop darker than the light meter tells you. The camera system is going to stitch everything together if you’re shooting for a longer period.
- If you’re shooting for an overall shorter amount of time, then try to nail the exposure as perfectly as you can.
- Dim the camera screen and disable exposure preview by using Simulated OVF to prolong the battery life.
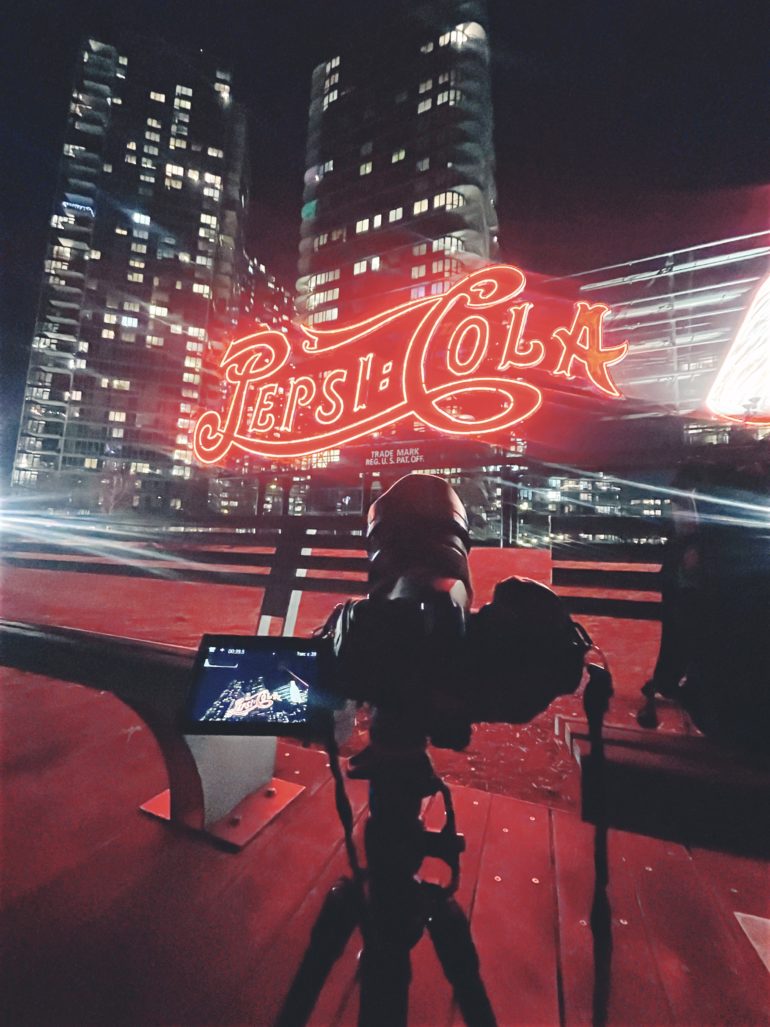
- Use a sturdy tripod and place it somewhere that offers little shake. If you’re on a waterfront pier, people coming by can shake the planks and cause camera shake.
- Stay by the camera and check on it to see what sort of photo develops.
- Shoot RAW and JPEG. It’s fun to sometimes make minor edits in post-production software. But Live Composite will mean you don’t have to spend more than a few minutes editing.
- Don’t stop your lenses down beyond f4. It’s the equivalent of f8, and with the right focusing that’s more than enough.
- Using the lowest ISO setting makes sense.
This is a really cool and fun feature when rare astronomical events happen like meteor showers, etc. Wide-angle lenses do a phenomenal job of capturing the entire sky. But if you’re looking to get just a specific part, go for a telephoto lens. Luckily, OM SYSTEM has a ton you can choose from. Happy shooting!
This piece is presented in partnership with OM SYSTEM. We’ve independently and ethically reviewed all the products in this post already without sponsorship. And we worked with them to recommend a few key gems to you.


